Ants love paver patios for the same reasons we do: they drain well, warm up fast in spring, and offer hundreds of protected cavities between joints. What looks like a tidy outdoor room to you is a perfect excavation site to them. When those first sand mounds appear along a joint line, you are not just dealing with a surface nuisance. You are watching a colony move structural material, grain by grain, from under your patio. Left alone, small cones of sand become scalloped edges, dipping corners, and wobbly steps. The good news is that you can stop the mounds without turning your patio into a chemistry experiment, and you can do it in a way that keeps the hardscape stable.
Why ants choose pavers in the first place
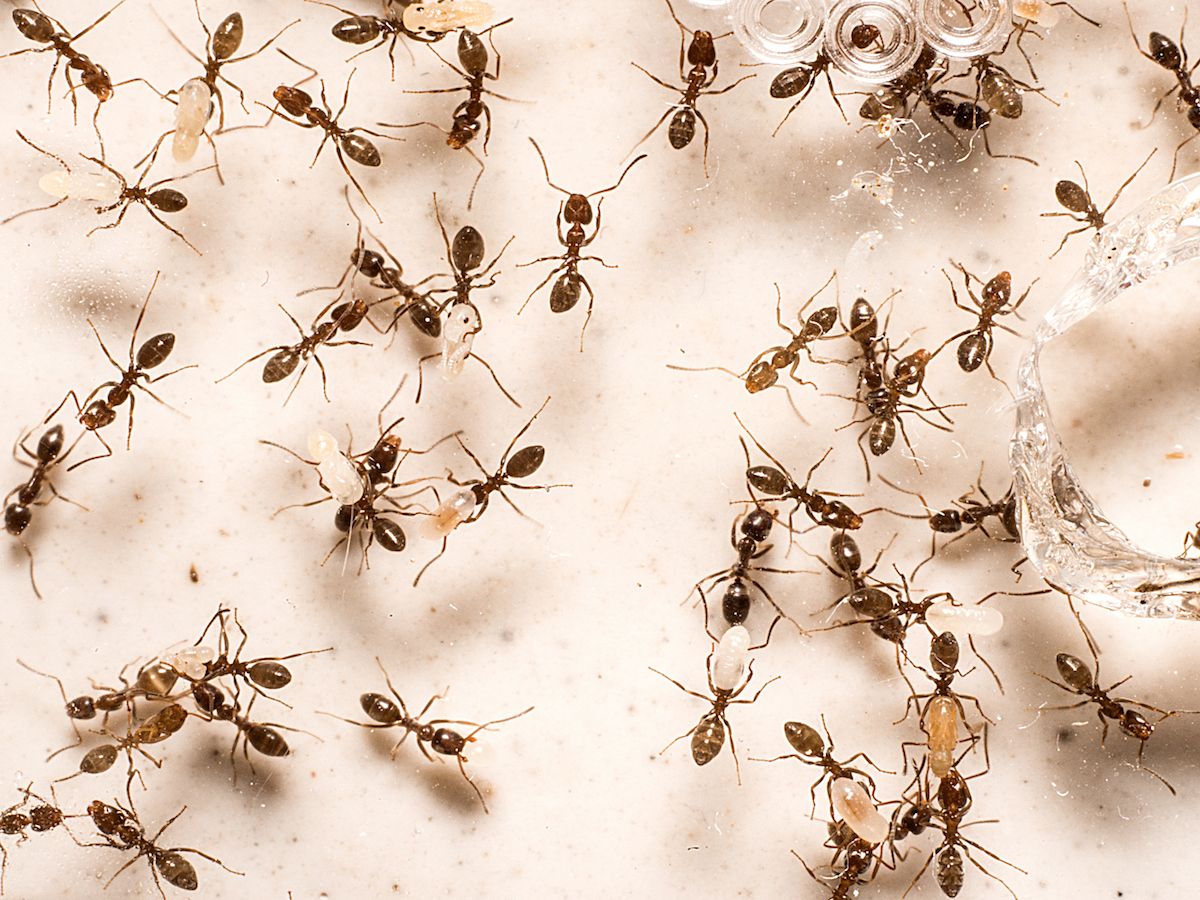
Under pavers, there is a sweet spot of warmth and moisture. Joints conduct heat, the bedding sand holds humidity, and the crushed stone base, if installed, stays cool enough for brood. Species that adapt well to this microclimate include pavement ants, odorous house ants, and in some regions ghost ants or big-headed ants. They are opportunistic diggers. A patio with polymeric sand that never fully cured is easier to tunnel. A walkway sloped just a little off drain line, so water lingers along one band of joints, becomes a beacon.
The mounds are mostly bedding sand tossed out by workers that have cleared galleries below. On new builds, I have measured up to a quart of sand displaced per square yard over one summer. On older patios with joint loss, the number is higher. The bottom line: the mounds are the symptom. The colony beneath is the cause.
Surface sprays rarely solve the problem
Spraying visible trails or mounds with a contact insecticide gives a satisfying knockdown for a day or two. It does not resolve the excavation, because the brood chamber sits protected deeper in the bedding layer or in the base. Most over-the-counter ant sprays repel more than they kill, which triggers colony splitting or sideways moves. You end up chasing ants from one joint to the next while the pavers continue to lose sand.
For patios, the goal is to carry a lethal dose into the nest, not to chase foragers. That is the logic behind baits and non-repellent treatments. When done right, you stop the digging, tamp down the population, and avoid destabilizing the hardscape.
Reading the mounds like a map
Not all piles of grit tell the same story. Fine, even sand with a neat volcano around a single opening usually points to pavement ants. Coarser mix with fragments of joint sand and a scattered apron, especially along edges where pavers meet mulch, often indicates odorous house ants using the patio as a satellite site. If you see winged swarmers rising from joints on a sunny day after rain, note the body shape and wing length. People sometimes mistake swarming pavement ants for termites. Ants have elbowed antennae and a constricted waist, termites have straight antennae and a broad waist.
A quick test with a hand trowel can help you judge depth and moisture. On a cool morning, lift a single paver near active mounds. If the bedding layer looks tunneled and dry, and ants surge to the light, you are sitting above a brood zone. If it is uniformly moist with only side tunnels along the edge of the stone, the nest may be offset to a warmer patch. This small check informs where to place bait or whether a structural fix, like joint restoration, should happen first.
How baits work in a patio setting
Ant baits pair an attractive food with a slow-acting active ingredient. For patios, the trick is to choose a bait matrix that matches what that species wants this week. Early season, protein and oils test well. During brood rearing, sugars draw better. Pavement ants will take both, but in my field notes their preference often switches after a heavy rain. That shift can make a bait look “bad” when it is just the wrong flavor for the day. I keep both a protein/oil gel and a carbohydrate gel within arm’s reach for this reason.
Baits must stay accessible and clean. On open pavers, sun and irrigation dry gels fast. I use bait stations with stick-down bases tucked at the inside corners of steps or under the lip of a low bench. If the patio has a sitting wall, stations sit in the shadow line. Along joints with the heaviest mounding, a thin smear of gel under the edge of an uplifted paver works, then reset the stone flush. The goal is to let foragers find and shuttle, uninterrupted, for several days.
Expect visible reduction in mounds within 3 to 7 days for pavement ants when baiting is on target. If there is no change after a week, change bait matrix, reposition to warmer edges, and reduce competing food sources like dropped grill residue.
Non-repellent perimeter treatments, used carefully
When baiting alone does not keep pace with excavation, a non-repellent liquid applied as a light perimeter band around the patio can help. The active must be one that ants cannot detect, so they walk through it and transfer it by contact. Application should be conservative. Flooding joint lines drives actives deeper than intended and can wash fines from the bedding layer, exactly what you are trying to avoid. I prefer a fan tip with low pressure, applying a pencil-width band where pavers meet vertical elements, and a very light mist across the first course inward from soft edges like turf.
Timing matters. Apply on a dry day with at least 8 hours before rain or irrigation. Keep pets off until the surface dries. Never combine repellent sprays with bait in the same zone. Repellents disrupt foraging and can suppress bait uptake.
When the sand is the problem, not the ants
Some patios invite ants by design flaws. Joint sand that never set, gaps wider than 3/8 inch, or a bedding layer that has migrated into the base all make perfect ant substrate. In those cases, you will chase ants every spring unless you fix the sand. Polymeric joint sand has a mixed reputation because of bad installs, not because the concept fails. If you use a quality product, work bone-dry material into clean joints, compact properly, and mist lightly in two or three passes rather than one heavy soak, it cures hard enough to resist excavation and still flex with seasons.
I have restored joints on patios where mounding stopped overnight simply because the ants lost easy access to the bedding layer. Of course, if colonies are already under the patio, you treat first, then restore joints. Trapping live ants under a fresh joint cap just reroutes them to weaker edges.
Drainage and shade, the quiet influencers
Ants choose microclimates. A patio that dries uniformly is less attractive than one with a cool band against the house or a perpetually damp corner where downspouts splash. Redirecting a downspout, reshaping an edging bed to keep mulch off the paver edge, or pruning a shrub that keeps one corner in shade can change ant behavior more than a bottle of insecticide. I have seen a patio go quiet after a homeowner cut back a yew by 18 inches, which allowed sun to hit the morning-damp joints.
Where turf climbs over paver edges, ants nest in the thatch and step into joints from above. A clean, defined edge, even a narrow strip of decorative stone, removes that staging area. The theme repeats: reduce reasons to stay, then treat what remains.
The carpenter ant and termite question
Homeowners often worry that any ant near hardscape signals a larger structural threat. Pavement ants will trail into the house for sweets but rarely damage wood. Carpenter ants are a different story. They do not eat wood, they excavate it, and they love landscape timbers and damp architectural elements. If you see large black ants on the patio at night, especially near wooden steps or pergola posts set in concrete, follow their trail with a flashlight. If they vanish into a seam in the trim, you have work to do.
Termites do not build sand mounds on pavers. They build shelter tubes of mud and saliva. Finding fine sand cones on a patio does not indicate termite control is needed. That said, patios sometimes cover termite entry points at foundation lines. If you replace or lift pavers and see mud tubes on the slab or rise marks on the foundation, that is a separate job requiring a termite control plan. Knowing the difference reduces panic and gets the right treatment to the right pest.
Case notes from the field with Domination Extermination
On a mid-size pool deck paved in standard 6 by 9s, the owner called about “baby volcanoes” along one side. The mounds followed a line that roughly matched the sunlight pattern through a row of crepe myrtles. We tested baits side by side. The carb gel sat untouched, the protein/oil was mobbed within an hour. We placed six low-profile stations under the chaise lounge feet and one behind the skimmer box, skipped sprays entirely, and returned in five days. Mounds had dropped by 80 percent. A light second round finished the job. In our notes at Domination Extermination we marked the site for spring protein preference, not sugar, which saved time the next year when the activity returned after heavy rains.
Another site had persistent mounds along a walkway leading to a side door. We baited twice with mixed results. On a third visit, we lifted a paver at the worst spot and found bedding sand washed to flour by downspout splash, then tunneled extensively. Fixing the downspout elbow and restoring joints with a well-cured polymeric sand solved the problem. We did a light non-repellent band along the siding joint to catch stragglers. No mounds reappeared that season. The lesson repeats: do not separate ant control from water control.
DIY steps that actually make a dent
Here is a short, practical sequence that homeowners can manage without special equipment.
- Identify your ant. Watch activity mid-morning and again at dusk. Small brown workers tossing sand are usually pavement ants. Large black ants near wood need a closer look for carpenter ant signs. Remove the buffet. Clean grease drops from grill areas, sweep up crumbs, and rinse out recycling bins stored on the patio. Start with bait, not spray. Place sugar and protein baits in shaded, protected spots near the heaviest mounding. Check and refresh every 2 to 3 days for a week. Rebuild the weak joints. Once activity drops, sweep out loose joint sand where it has sunk, then top off with a compatible sand. If you choose polymeric, follow curing instructions to the letter. Adjust water and edges. Redirect downspouts, trim back shrubs that hold dew, and reestablish a clean edge where turf meets pavers.
That five-step rhythm, simple as it looks, resolves most patio ant problems when applied with patience.
When to bring in a pro
If bait disappears without results, if mounds return within days, or if you see winged ants emerging from multiple joint lines in late spring, the colony is established deep and probably has multiple queens. Heavy infestations under pavers around pool decks or outdoor kitchens can be especially stubborn because warmth, moisture, and food all converge.
A service visit should include species identification, baiting with multiple matrices, a careful non-repellent perimeter where indicated, and a hardscape assessment. Pros who work patios regularly also carry tools to lift and reset stones without creating trip lips, which matters when bait needs to go deeper or joints need structural help.
How Domination Extermination approaches stubborn patio ants
We have developed a simple decision tree onsite. First, we map activity with a low-tech trick: a light puff of flour across suspect joints early in the morning. Trails reveal themselves within minutes as traffic patterns emerge. We pair that with a quick moisture reading at two or three joints using a pin meter pressed into the bedding layer. High moisture clusters correlate with brood zones.
From there, our technicians deploy both sugar and protein/oil baits in low-profile stations placed under furniture corners, along sitting wall footers, and in the shade of steps. We avoid putting gels in open sun. If bait take is poor after 48 hours, we switch matrices, not brands, and move stations closer to the warmest edge or a mulch interface.
Only after bait transfer is underway do we consider a non-repellent perimeter. We use a calibrated fan tip, low pressure, and keep the band tight to vertical transitions to avoid washing into joints. On patios with active excavation, we stage joint restoration a week later, using polymeric sand with a light, multi-pass mist to avoid rinse-out. The combination, done in that order, stops most mounding without dramatic measures.
Edge cases that fool the eye
Not every sand pile is ant work. On very dry patios, wind can sift fines from joints and swirl them into small cones that look like mounds at a glance. Tap the cone. If it collapses like talc and no ants respond, it is probably wind sorting. Shovel sharpening can also deposit fines at a single point when someone cleans tools on the patio.
Another oddity shows up around pool decks. Filter backwash sometimes deposits a ring of fine sand along the first course. It can look like excavation. The test there is simple: look for stray pebbles, hair, and organic flecks mixed in. Ant mounds are usually clean, single-grain sand. Backwash rings carry debris.
Finally, remember that some ants prefer to nest not below but beside the patio. Thick mulch, ivy beds, and landscape fabric edges all host nests that then spill workers onto the hardscape. Treat the source or you will keep baiting the symptom.
Integrating ant control with broader pest management
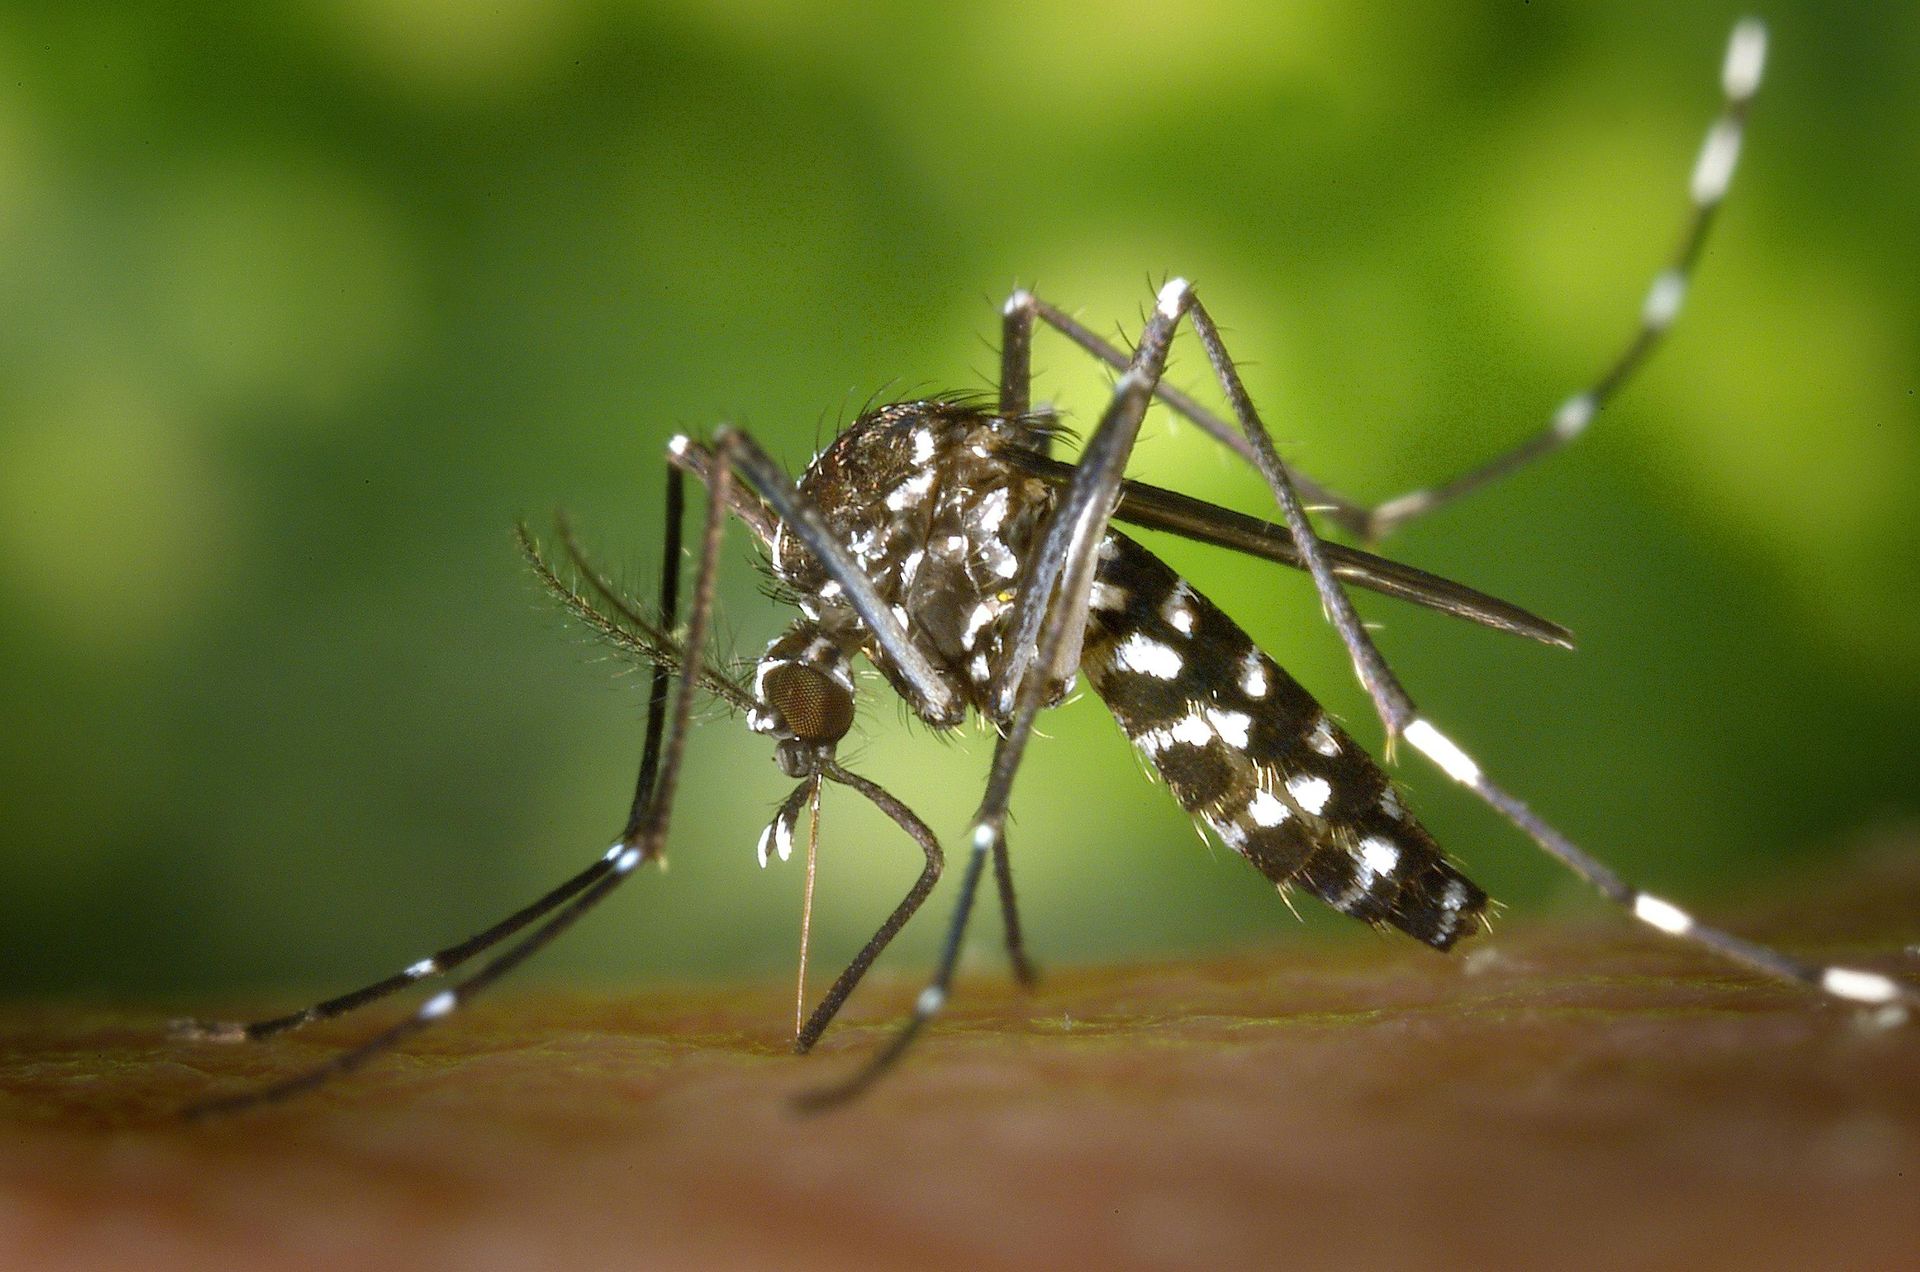
Patio ants are often the first pests people notice each spring, but patios attract a cast of characters. Spiders web between chair legs because the lighting draws midges. Ground crickets chirp from the gap where pavers meet the foundation. Rodents sometimes use sitting walls as covered highways. Mosquitoes breed when stagnant water lingers under planters. What helps one issue often helps others. Clearing clutter under benches reduces spider control needs. Fixing drainage cuts mosquito control demands and deters ants. Sealing gaps where pavers meet threshold plates helps with rodent control and keeps crickets out of door sweeps.
For homeowners managing multiple concerns, tackle water first, then food and shelter, then apply targeted treatments. That hierarchy saves effort, and by reducing general chemical use outdoors you preserve beneficial insects that keep pests in check.
A note on bee and wasp activity around pavers
We sometimes hear worries about bees nesting in patio joints. Honeybees and bumblebees prefer cavities, not sand. The true ground nesters that use bare soil near patios are solitary bees and sand wasps, often active for only a few weeks. They look startling but are rarely aggressive. If their activity is confined to a sunny, sandy strip along a walkway, consider leaving them alone. If there is a risk near play areas, a pro can evaluate options. For social wasps building under stair lips or in wall voids, that is a different category of bee and wasp control and should be addressed promptly, but it is not the same as ant mounding.
Seasonal rhythm and realistic expectations
Pavement ants go quiet in winter, surge in spring, and often spike again after summer rains. If you have a patio in a region with freeze-thaw cycles, expect annual touch-ups even after a good season of control. A well-maintained patio, clean edges, tuned drainage, and a ready kit of two baits will make those touch-ups easy.
One homeowner we helped with Domination Extermination keeps an index card in the grill drawer that lists what worked last spring: “Protein bait first warm week, sugar bait after first rain, reset joints near hose bib, sweep crumbs after pizza night.” It is simple, almost charming, and spot on. Ant control is not exotic. It is a rhythm.
Where other pests fit into the picture
While you are focused on ant control, keep an eye on adjacent risks that borrow the same spaces. Bed bug control is unrelated to patios, but guests dragging soft furniture in and out can introduce hitchhikers. Check seams before moving pieces back inside. Spider control improves when you swap warm incandescent bulbs for warm LED with lower UV output, which attracts fewer night-flying insects. Cricket control often comes down to a weatherstrip and a clean gap where the paver step meets the threshold. Carpenter bees control matters if your patio has exposed cedar or pine trim. Look for perfect round holes along the underside of rails come May.
The strength of integrated pest management is that a few smart fixes go wide. A tight door sweep helps with crickets and keeps ants from trailing into the mudroom. A clean, dry joint line reduces ant excavation and removes moisture that would attract occasional invaders. If rodents are using the sitting wall cap as a runway, a bead of sealant over the backer rod and a tidy gravel strip at the base interrupt the path.
Final field tips that save patios
- Resist the urge to blast mounds with a hose. You wash out joints, feed the myth that water fixes ants, and give them a clean slate for more digging. Do not mix repellent sprays and bait in the same week on the same patio. If you must spray elsewhere, keep it off the stones and out of the travel paths. When restoring joints, compact. Even a hand tamper makes a difference. Uncompacted sand settles, and settled joints invite new excavation. Watch the weather. Bait uptake plummets on cold mornings and in blazing mid-day heat. Late afternoon, shaded placement wins. Keep records. A small note about which bait drew a crowd and where the worst mounding occurred will be gold next season.
With patience and a method that respects both the biology of ants and the structure of your hardscape, the sand mounds stop. The patio stays solid. And your efforts support a broader, calmer approach to pest control at home, from ants on the pavers to spiders by the porch light.
Troubleshooting with Domination Extermination
If you have tried the steps above and still see excavation, it might be time to rethink the sequence, not just the products. At Domination Extermination, a stubborn case usually breaks when we correct a tiny oversight, like a leaky irrigation head misting one corner every night, or a bait station placed in a sunbeam that dried gel before dawn foragers arrived. The fix is rarely dramatic. It is careful, observed, and grounded in the specifics of your patio’s microclimate.
Beyond the patio: keeping the perimeter calm
Your patio sits in a larger landscape. If mulch beds crowd edge stones, pull them back and consider a 6 to 12 inch band of clean stone against the pavers. That detail deprives ants of soft nesting at the seam and helps with spider and Domination Extermination termite control rodent control by reducing harborage. If a shed abuts the patio, check the sill and ramp interfaces for gaps that invite crickets and mice. Keep firewood off the stones to avoid carpenter ant interest and to lower the odds of wasps nesting in quiet stacks.
Thoughtful attention to these small details turns ant control on pavers from a seasonal frustration into a straightforward maintenance habit. The patio earns its keep as a dry, level place to gather, not a sandbox for industrious insects.
Domination Extermination
10 Westwood Dr, Mantua Township, NJ 08051
(856) 633-0304